Contents:
- Understanding Hair Density and Why Thinning Matters
- Professional Thinning Methods at a Salon
- Thinning Shears vs. Razor Cutting
- Layering Techniques
- At-Home Thinning Solutions
- Using Thinning Shears Yourself
- The Texturizing Spray Method
- Permanent Thinning Treatments
- Chemical Relaxers and Japanese Straightening
- Keratin Treatments
- Styling Strategies for Thick Hair
- Blow-Drying Techniques
- Product Selection
- Common Mistakes to Avoid
- Sustainable Hair Care for Thick Hair
- Timeline: What to Expect
- FAQ: Answering Your Thinning Questions
- Will thinned hair grow back thicker?
- How often should I thin my hair?
- Can I thin my hair myself if I’ve never done it before?
- Does thinning work for all hair types?
- What’s the difference between thinning and undercut layers?
- Moving Forward: Making Your Decision
Run your fingers through soaking wet hair after a shower. That weight, that resistance—that’s what thousands of people with thick hair battle daily. Not just in the shower, but when styling, when sleeping, when trying to manage the sheer volume that won’t cooperate. Thinning out excessively dense hair isn’t about vanity; it’s about practicality and comfort.
If you’re dealing with heavy, voluminous hair that seems impossible to manage, you’re not alone. Thick hair can look fantastic in photographs, but the reality involves tangled mornings, damaged lengths from the weight, and frustration with styling tools that struggle to create the shape you want. This guide covers everything you need to know about how to thin out hair effectively, whether you’re seeking professional methods or manageable solutions you can implement at home.
Understanding Hair Density and Why Thinning Matters
Hair density refers to the number of individual strands per square centimetre on your scalp. High density means more strands packed closely together, which creates volume and weight. Most people with thick hair have between 100 and 150 strands per square centimetre, compared to the average density of around 100 to 120 strands.
That difference might seem small numerically, but it compounds visually and practically. The cumulative weight puts stress on hair follicles, potentially accelerating hair damage and breakage. Styling takes longer. Products become less effective because they’re distributed across more hair. The ends become prone to dryness and splitting because natural oils struggle to travel the full length of each strand.
Strategic thinning redistributes this weight, reduces styling time, and actually improves overall hair health by preventing the damage that comes from excessive bulk. It’s not about removing hair indiscriminately—it’s about intelligent removal that maintains volume where you want it whilst reducing weight and density where it’s problematic.
Professional Thinning Methods at a Salon
Thinning Shears vs. Razor Cutting
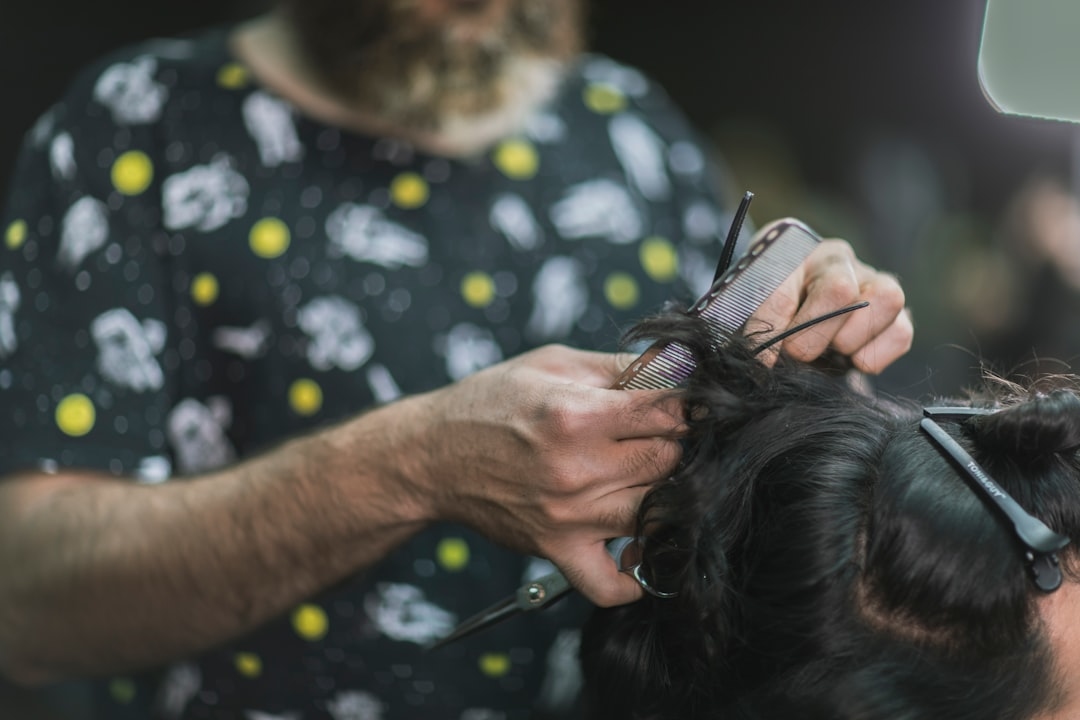
Professional stylists use two primary cutting techniques to thin hair. Thinning shears—also called thinning scissors—have teeth on one blade that remove select strands whilst leaving others intact. A skilled stylist removes approximately 10 to 30 percent of hair with each cut, depending on the tool used and technique applied. The result looks natural because individual strands are removed throughout the section, not just from the edges.
Razor cutting involves using a straight razor to slice through the hair, creating texture and removing weight. Razors typically remove more hair than thinning shears and create a softer, more textured finish. Many stylists prefer razors for thick, coarse hair because they create sharper lines whilst reducing bulk effectively. Expect to pay £45 to £85 for a thinning treatment at a UK salon, depending on location and stylist experience.
Layering Techniques
Layering creates movement, shape, and the illusion of less density without removing as much hair as traditional thinning. A stylist cuts shorter layers throughout the length, allowing each layer to move independently. This breaks up the weight and creates visual separation rather than one block of hair.
Point cutting is a refinement where the stylist makes cuts into the end of the hair at an angle, creating texture. This softens the lines and removes some weight whilst maintaining thickness where you need it. Choppy layers work especially well for wavy or curly thick hair, as they enhance natural texture and reduce the “helmet hair” effect that often comes with dense, straight hair.
At-Home Thinning Solutions
Using Thinning Shears Yourself
Quality thinning shears cost between £15 and £50 for consumer versions. They’re not as precise as professional tools, but they work adequately on your own hair with patience. The technique matters more than the tool quality.
Start with clean, damp hair that you can see clearly. Section your hair into four quadrants using clips. Working on one small subsection at a time, hold the shears vertically and make cuts into the hair from the ends upward, rather than cutting straight across. This creates a more natural appearance. Make only 2 to 3 cuts per subsection initially—you can always thin more, but you cannot add hair back. The goal is removing approximately 15 to 20 percent of hair volume on your first attempt.
Never use regular scissors; they crush the hair shaft and cause damage. Invest in proper thinning shears or consider skipping this method entirely if you’re uncertain about technique.
The Texturizing Spray Method
For a temporary solution that reduces the appearance of density without removing hair, texturizing sprays add grip and reduce smoothness. Products like dry shampoo, texturizing sprays, and salt sprays create friction between strands, making hair appear less sleek and voluminous. They don’t permanently thin hair, but they make thick hair more manageable styling for 1 to 3 days between washes.
Apply these products to dry hair, concentrating on the mid-lengths and ends. They work particularly well on second-day or third-day hair when natural oils have built up slightly. Cost ranges from £8 to £16 per can in the UK.
Permanent Thinning Treatments
Chemical Relaxers and Japanese Straightening
Chemical relaxers permanently alter the hair structure, reducing curl and bulk simultaneously. Japanese thermal reconditioning (often called a “perm” despite being quite different) chemically straightens hair and can reduce overall volume by 20 to 35 percent depending on hair type and the specific treatment used.
These treatments work best on naturally wavy or curly thick hair where the curl pattern contributes significantly to volume. Straight hair benefits less from chemical treatments. Professional application costs £150 to £400 depending on hair length and treatment type. Maintenance is essential—the treatment lasts 3 to 6 months before regrowth becomes noticeable. These treatments also carry risks: they can damage hair if applied incorrectly, and they require commitment to ongoing care and touch-ups.
Keratin Treatments
Keratin treatments are semi-permanent smoothing treatments that reduce frizz and can reduce perceived volume by 15 to 25 percent. They don’t remove hair permanently, but they smooth the cuticle layer, making each strand appear thinner and less voluminous overall. The effect lasts approximately 8 to 12 weeks with proper care.
Professional keratin treatments cost £120 to £300. Maintenance involves using sulphate-free shampoo and avoiding washing hair for 48 to 72 hours after treatment. These treatments work well for people wanting a temporary reduction in volume without permanent chemical alteration.
Styling Strategies for Thick Hair
Blow-Drying Techniques
How you dry your hair dramatically affects perceived thickness. Blow-drying creates volume through lifting strands away from the scalp. For thick hair, consider diffusing instead—use a diffuser attachment to dry hair without so much lift and movement.
Another approach involves drying your hair smoother and flatter against the scalp. Use a paddle brush or rounded brush to smooth the cuticle in one direction whilst applying heat. This reduces flyaways and makes hair appear denser but less voluminous overall. Finish with cool air to seal the cuticle.
Product Selection
Lightweight products matter more for thick hair than heavy ones. Volumizing products add more bulk—the opposite of what you want. Choose:
- Lightweight conditioners applied only to the ends
- Leave-in sprays instead of heavy creams
- Matte finish styling products instead of shiny ones (which emphasise volume)
- Dry texturising products that reduce smoothness
Avoid silicone-heavy products that coat hair and add shine—they emphasise thickness visually. Look for products specifically formulated for “fine to medium” hair, even if your hair is technically thick. These are designed to work with less product and provide definition without weight.
Common Mistakes to Avoid
One frequent error involves thinning too aggressively at once. Overzealous thinning can create a wispy, disconnected appearance where some sections look sparse. Conservative thinning—removing small amounts over multiple sessions—produces better, more natural results. If you’re doing this at home, remember that hair grows back only about half an inch monthly, so patience is essential.
Another mistake is thinning fine or damaged hair. If your hair is already fine in texture or has existing damage, thinning removes the structural integrity and makes problems worse. Assess your hair’s baseline condition before deciding on thinning.
People also fail to maintain thinned hair properly. Once you’ve professionally thinned your hair, you cannot wait six months for the next cut. The new growth comes in at full density, creating a thick regrowth line. Maintenance cuts every 6 to 8 weeks preserve the thinned appearance. This is a genuine commitment, not a one-time solution.
Sustainable Hair Care for Thick Hair
Thick hair benefits enormously from responsible thinning rather than trying to manage excessive weight with harsh treatments or excessive heat styling. Consider the environmental angle: reducing the need for heavy styling products means less plastic packaging and fewer chemicals entering water systems. Professional salon waste is inevitable, but choosing methods like thinning shears over colour treatments (which require more chemical use) is slightly more sustainable.
At home, using quality tools that last years rather than disposable razors or cheap shears reduces waste. A £40 pair of thinning shears used for five years is far more sustainable than buying cheap ones repeatedly.
If pursuing permanent treatments like keratin or chemical relaxers, research salons that use low-formaldehyde or formaldehyde-free products. These are safer for both you and the salon environment. Some facilities recycle or properly dispose of chemical waste; asking about these practices encourages more salons to adopt sustainable procedures.
Timeline: What to Expect
If you choose professional thinning, results are visible immediately. You’ll notice reduced drying time, easier styling, and less weight on your scalp within the first wash. The effects persist until new growth emerges at full density, typically 8 to 12 weeks for noticeable regrowth.
Chemical treatments like Japanese straightening or keratin need time to develop. Results appear gradually over 48 hours to one week as the treatment sets. These then persist for 8 to 12 weeks before fading gradually.
At-home thinning with scissors shows immediate results but requires maintenance. Expect to repeat the process every 6 to 8 weeks for consistent appearance.
FAQ: Answering Your Thinning Questions
Will thinned hair grow back thicker?
No. Hair thickness is determined by genetics and the width of individual hair shafts. Cutting or thinning does not change the inherent thickness of your hair. New growth emerges at the same thickness it always has. Some people perceive new growth as “thicker” because it’s blunt-edged (freshly cut hair has sharp edges from thinning), but the actual hair is identical.
How often should I thin my hair?
Most people benefit from professional thinning every 6 to 8 weeks. This aligns with general haircut schedules and prevents excessive regrowth from looking disconnected. If you’re doing at-home thinning, start with every 8 weeks and adjust based on how quickly your regrowth becomes noticeable.
Can I thin my hair myself if I’ve never done it before?
You can, but the results may be less polished than professional work. Start conservatively—make fewer cuts than you think necessary. It’s easier to do more thinning later than to undo overzealous cuts. For your first attempt, consider doing just one small section rather than your entire head. If you’re happy with results, continue with other sections. This approach prevents dramatic mistakes.
Does thinning work for all hair types?
Thinning works well for straight, wavy, and curly hair. Very curly or coily hair requires specialist technique—inappropriate thinning can damage curl pattern and create frizz. If you have textured hair, consult a stylist experienced with your specific hair type before attempting thinning.
What’s the difference between thinning and undercut layers?
Thinning removes hair throughout a section to reduce overall density. Undercut layers remove hair only from underneath longer surface layers, creating definition and movement whilst maintaining length on top. They’re complementary techniques—many stylists combine both for optimal results on thick hair.
Moving Forward: Making Your Decision
Thinning thick hair is straightforward once you understand your options. Professional methods deliver the most precise, polished results, but they require ongoing maintenance and investment. At-home solutions work for people comfortable with some risk and willing to start conservatively. Permanent treatments suit those wanting a longer-lasting solution to density.
The key is matching your choice to your lifestyle, budget, and comfort level with tools. Someone with £80 per month for salon visits and styling time has more options than someone managing hair during a busy schedule. Both can successfully thin their hair—the method simply differs.
Start with honest assessment: Are you seeking temporary adjustment of appearance, or permanent reduction in density? Do you want to invest time learning a technique, or prefer delegating to professionals? Once you answer these questions, one path forward becomes obvious. Most people find that strategic thinning transforms their relationship with their hair, turning a frustrating thick mane into something genuinely manageable.
Add Comment