Contents:
- Why Bath Hair Matters in Your Grooming Routine
- Understanding Bleach and Your Hair Chemistry
- Assessing Your Hair Type and Colour
- Essential Supplies for Safe Bleaching
- Step-by-Step Instructions for Bleaching Bath Hair
- Preparation (5-10 minutes before mixing)
- Mixing the Bleach
- Application
- Processing Time
- Rinsing and Neutralising
- Conditioning and Drying
- Common Mistakes to Avoid
- Realistic Results and Timeline
- A Real-World Example
- When to Seek Professional Help
- Frequently Asked Questions
- Does bleaching bath hair damage it?
- Can I bleach my bath hair if it’s already been coloured?
- How often can I safely bleach my bath hair?
- What’s the difference between home bleaching and salon bleaching for bath hair?
- If my bath hair turns yellow or brassy after bleaching, what should I do?
- Moving Forward: Your Bath Hair Plan
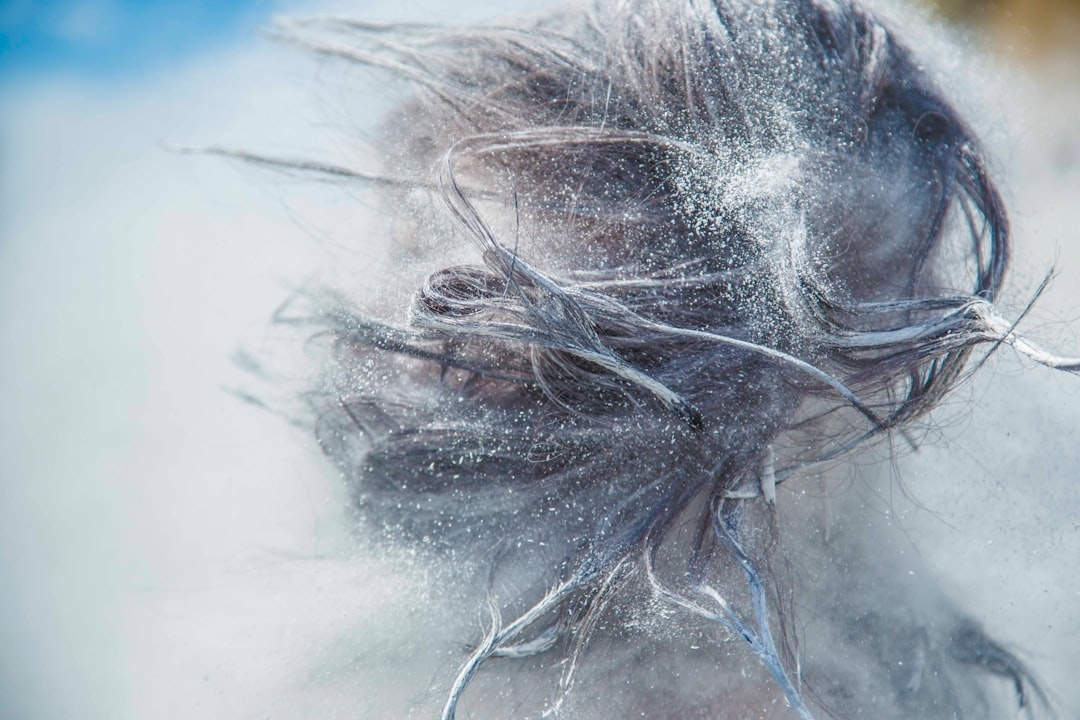
Bath hair—those fine, delicate strands that grow around your hairline, ears, and nape—can frustrate many people. Some find them distracting; others simply want them lighter to match their overall hair colour. The good news: you don’t need expensive salon treatments. Learning how to bleach bath hair at home is achievable with the right approach, careful preparation, and realistic expectations.
Before reaching for a bleach bottle, understand what you’re actually doing. You’re initiating a chemical reaction that breaks down melanin (the pigment responsible for hair colour) in those fine, often lighter strands. The process is different from bleaching thicker scalp hair because bath hair is typically finer, shorter, and sometimes already lighter. This means it can bleach faster—and over-process just as quickly.
Why Bath Hair Matters in Your Grooming Routine
Bath hair isn’t just a vanity concern. For many people, these fine strands are noticeably darker than their scalp hair (especially in certain lighting), creating visual contrast that affects how their overall hair colour appears. If you’ve recently lightened your hair or gone blonde, darker bath hair becomes even more conspicuous. Some people find them uncomfortable; others simply prefer the cleaner aesthetic of lighter or less visible facial hair.
The British dermatologist Dr. Anjali Mahto notes that the fine hairs around the face and nape are often overlooked in personal grooming, yet they’re among the first things others notice. Unlike head hair, these delicate strands require gentler handling because they’re closer to sensitive skin on the neck, face, and behind the ears.
Understanding your specific concerns helps you decide whether bleaching is the right solution. Some people only want lightening; others prefer removal entirely (which requires different methods like waxing or dermaplaning). This guide focuses specifically on bleaching—the chemical lightening process.
Understanding Bleach and Your Hair Chemistry
Bleach works through oxidation. When hydrogen peroxide (the active ingredient in most home bleach products) contacts hair, it creates tiny air bubbles inside the hair shaft. These bubbles push out melanin molecules, causing the colour to lighten. The longer you leave bleach on, the lighter the hair becomes—but also the more damage it sustains.
The strength of bleach is measured in “volumes,” typically ranging from 10 to 40 volume. Volume indicates how much oxygen the product releases:
- 10 volume: Gentlest option; lifts colour by one shade level; minimal damage
- 20 volume: Lifts colour by two to three shade levels; standard for at-home use
- 30 volume: Lifts colour by three to four levels; stronger; higher damage risk
- 40 volume: Strongest; professional-grade; highest risk of damage and breakage
For bath hair specifically, you typically don’t need high volumes. Bath hair is finer and already lighter than your scalp hair in most cases, meaning it bleaches faster. Most home treatments for bath hair use 10 or 20 volume, applied for shorter durations—often just 10 to 15 minutes rather than the 30-45 minutes typical for scalp hair.
Assessing Your Hair Type and Colour
Before applying any bleach, honestly evaluate your starting point. Your natural hair colour significantly affects bleaching results and timing:
- Blonde or light brown hair: Bath hair may bleach noticeably in 5-10 minutes with 10 or 20 volume
- Medium to dark brown: Expect 15-20 minutes with 20 volume for visible lightening
- Black or very dark hair: 20-30 minutes with 20 volume; results may be more subtle unless you use 30 volume (with higher damage risk)
- Previously highlighted or damaged hair: Bleach faster; monitor closely to avoid over-processing
Fine, thin bath hair processes faster than coarser scalp hair. This means you’ll likely need less time on these delicate strands. The catch: faster processing also means faster damage if you leave it too long.
Hair porosity (how readily your hair absorbs moisture and chemicals) also matters. High-porosity hair, common in previously coloured or heat-damaged hair, absorbs bleach quickly. Low-porosity hair resists chemical penetration. If you’re unsure about your porosity, perform a simple test: place a single strand of your bath hair in a glass of water. Hair that sinks quickly has high porosity; hair that floats has low porosity.
Essential Supplies for Safe Bleaching
Gather these items before starting. Proper supplies aren’t optional—they’re essential for safety and results:
- Bleach powder and developer: Purchase as a kit from a beauty supplier (not from supermarket cleaning aisles). Brands like Schwarzkopf, Wella, or L’Oréal offer at-home kits with appropriate mixing instructions. Cost: £8-15 for a quality kit
- Mixing bowl: Non-metallic (glass, ceramic, or plastic); bleach reacts with metal
- Measuring spoons: Plastic or ceramic; metal spoons risk chemical reactions
- Applicator brush: Small, fine-tipped for precise application to bath hair
- Petroleum jelly or barrier cream: Apply to your forehead, ears, and neck before bleaching to protect skin
- Gloves: Two pairs—one for mixing, one for application (latex, nitrile, or cotton-lined)
- Sectioning clips: Keep head hair out of the way
- Old towel: White or dark towel you don’t mind staining
- Timer: Phone timer or kitchen timer for accuracy
- Conditioner or deep treatment: Essential for aftercare; have it ready before bleaching
Budget breakdown for at-home bath hair bleaching: £8-15 for bleach kit (reusable for 2-3 applications), £5-8 for conditioning treatment, £0-5 for supplies you likely already have (old towel, gloves). Total first-time cost: roughly £15-25. Subsequent applications cost £8-12.
Step-by-Step Instructions for Bleaching Bath Hair
Preparation (5-10 minutes before mixing)
Don’t wash your hair immediately before bleaching. Your scalp’s natural oils (sebum) protect your skin and hair. Bleach on freshly washed hair causes more scalp irritation and potential damage. Ideally, wait 2-3 days after your last wash.
Apply petroleum jelly thickly along your hairline, around your ears, and on the back of your neck where it meets your shoulders. Bleach can lighten your skin temporarily if it contacts it; petroleum jelly acts as a barrier. Work this step carefully—a barrier prevents staining and irritation.
Section your hair with clips, pulling the thicker scalp hair away from your hairline and nape. You want clear access to bath hair without thicker strands getting in the way.
Mixing the Bleach
Follow your product’s instructions precisely regarding ratios. Most kits specify a 1:2 ratio (one part powder to two parts developer), but this varies. Measure carefully. Too much developer creates runny mixture that drips; too little creates thick paste that’s hard to apply evenly.
Mix in a non-metallic bowl. Stir thoroughly for 60-90 seconds until you reach a smooth, creamy consistency with no lumps. The mixture should resemble thick yogurt, not soup or cement.
Work quickly after mixing. Bleach’s potency decreases over time. Don’t let mixed bleach sit for more than 10-15 minutes before application.
Application
Put on your gloves. Use your fine applicator brush to paint bleach onto the bath hair at your hairline first. Work in small sections, approximately 1-2 cm at a time. Ensure the bleach fully coats each section without dripping onto your skin or scalp.
Work your way around the hairline, then move to the back of your neck and nape area. Apply thin, even layers. Thick application doesn’t speed up bleaching—it only increases damage and scalp irritation.
Once you’ve applied bleach to all bath hair areas, check for any missed spots using a hand mirror and magnifying glass if needed. Bath hair is fine and easy to miss.
Processing Time
Set your timer. For most people with 10 or 20 volume developer:
- Blonde or light brown hair: 5-10 minutes
- Medium brown hair: 10-15 minutes
- Dark brown or black hair: 15-20 minutes (use 20 volume for this)
Check your results at the lower end of these ranges. You can always leave bleach on longer, but you can’t undo over-processing. Bleach the hair slightly lighter than your final goal; it can tone down with conditioner or a demi-permanent toner.
During processing, avoid touching the bleached areas. Don’t run your fingers through; don’t scratch your scalp. Keep your head still if possible.
Rinsing and Neutralising
When your timer sounds, rinse immediately with lukewarm (not hot) water. Don’t use shampoo yet—just rinse thoroughly until the water runs clear and you’ve removed all bleach residue.
Fill your sink with lukewarm water and add a small dollop of conditioner. Submerge the bleached bath hair (or at least rinse your entire head with this conditioner-water mixture). This neutralises any residual bleach and begins the conditioning process.
Rinse once more with plain water until conditioner is fully removed.
Conditioning and Drying
Apply a deep conditioning treatment to your entire head, focusing on the bleached bath hair. Leave it on for 10-20 minutes (follow product instructions). Bleaching opens the hair cuticle; conditioner seals it back down and restores moisture.
Rinse the conditioner out thoroughly. Gently pat your hair dry with your old towel—don’t rub vigorously, as wet bleached hair is more fragile.
Allow your hair to air-dry if possible. Heat-styling immediately after bleaching is too harsh. If you must blow-dry, use the lowest heat setting.
Common Mistakes to Avoid
Learning from others’ experiences accelerates your success. Here’s where most people go wrong:
Mistake 1: Ignoring Your Hair’s History
Previously lightened or damaged hair bleaches faster. If your bath hair has been bleached before or is naturally fine and porous, reduce your processing time by 3-5 minutes. Monitor closely. Your hair is more fragile than you think.
Mistake 2: Using High-Volume Developer Unnecessarily
For bath hair, 20 volume is usually sufficient. Using 30 or 40 volume increases damage dramatically without proportionally better results. Save strong developer for your scalp hair, where you actually need it.
Mistake 3: Inconsistent Application
Applying thick bleach to one area and thin bleach to another creates patchy, uneven results. Work methodically. If you’re unsure, apply less rather than more.
Mistake 4: Skipping the Patch Test
Though bath hair is often less sensitive than scalp hair, apply a small amount of mixed bleach to an inconspicuous area (behind your ear, for instance) 24 hours before your full application. Watch for redness, itching, or swelling. This test takes minimal time and prevents allergic reactions.
Mistake 5: Over-Processing
This is the single biggest mistake. Bleach left on too long doesn’t just lighten hair further—it damages it structurally, leading to breakage, dryness, and brittleness. Start at the lower end of recommended times. You can always bleach again after two weeks if you need lighter results.
Realistic Results and Timeline
Understand what bleaching actually achieves. Bath hair doesn’t disappear when bleached—it lightens. A brunette’s dark bath hair might become honey blonde or light brown. A blonde’s fine bath hair might become nearly invisible white-blonde. The lighter your starting colour, the more dramatic the lightening.
Expect subtle rather than dramatic changes in most cases. The goal is usually to make bath hair less noticeable, not to transform it into a completely different colour.
After bleaching, you can maintain results with:
- Weekly deep conditioning treatments (£2-6 per month)
- Demi-permanent toner if you need to darken bleached hair slightly (£5-10)
- Gentle handling—avoid hot water, excess heat-styling, and rough towel drying
- Repeat bleaching every 4-8 weeks as new growth appears (bath hair grows like all hair, approximately 0.5 cm per month)
A Real-World Example
Sarah, a 34-year-old from Manchester, went blonde in January 2026 and immediately noticed her dark bath hair was more prominent against her new colour. She purchased a Schwarzkopf at-home bleach kit (£12) and applied 20 volume developer to her bath hair for 12 minutes. The results lightened her bath hair from dark brown to honey blonde—noticeable, but not shocking. She’s now maintained this every 6 weeks using the same kit (which lasted for three applications). Total yearly maintenance cost: roughly £30. A salon equivalent would cost £60-80 per session.
When to Seek Professional Help
Home bleaching works for most people, but certain situations warrant professional treatment:
- Sensitive scalp or history of allergic reactions: A stylist can perform a proper allergy test and offer professional-grade products with built-in scalp protection
- Very dark or black hair: Professional bleach is often stronger and safer than at-home kits; stylists know exactly how long to process
- Hair that’s already damaged: If your bath hair is brittle, breaking, or highly porous, professional assessment is wise before bleaching
- Previous bleaching disasters: If you’ve over-processed before, a professional can evaluate your hair’s current state and recommend recovery treatments
Professional bath hair bleaching costs £20-40 depending on your location and salon. It’s more expensive than home treatment but may be worth it for peace of mind.
Frequently Asked Questions
Does bleaching bath hair damage it?
Bleach does alter hair structure by breaking chemical bonds. However, when used correctly (proper volume, appropriate timing, followed by conditioning), damage is minimal on fine bath hair. The key is not over-processing. Fine hair tolerates brief, properly-timed bleaching better than extended exposure.
Can I bleach my bath hair if it’s already been coloured?
Yes, but proceed cautiously. Previously coloured hair (especially if it was lightened) is more porous and bleaches faster. Reduce your processing time by 3-5 minutes and monitor closely. Perform a strand test first to see how quickly your specific hair lightens.
How often can I safely bleach my bath hair?
Every 4-8 weeks is generally safe, depending on your hair’s resilience and how much you care for it between treatments. Some people bleach every 4 weeks without issue; others prefer every 8 weeks to minimise damage. Listen to your hair. If it feels dry or brittle, extend the interval and focus on deep conditioning.
What’s the difference between home bleaching and salon bleaching for bath hair?
Professional stylists use stronger bleach formulas and have expertise in timing. They apply precise amounts and often include scalp protection products. Home kits are milder and more forgiving, which actually suits bath hair well since you don’t need aggressive bleaching. The main advantage of salon bleaching is professional assessment and custom formulations.
If my bath hair turns yellow or brassy after bleaching, what should I do?
Brassiness (yellow or orange tones) indicates incomplete bleaching or deposits from water minerals. Demi-permanent toner in a platinum or ash blonde shade neutralises brass. Apply toner according to product instructions, typically leaving it on for 20-30 minutes. Alternatively, purple-toning shampoo (designed for blonde hair) gradually neutralises brassiness over multiple washes.
Moving Forward: Your Bath Hair Plan
Bleaching bath hair is achievable, affordable, and often more effective than you’d expect. The process requires attention to detail—proper supplies, careful timing, and realistic expectations—but no special skills. Whether you’re looking to lighten dark facial hair after going blonde, create a cleaner aesthetic for formal events, or simply reduce the visibility of fine facial strands, now you understand exactly how to bleach bath hair safely and effectively.
Start with a patch test. Gather your supplies this week. Apply bleach carefully, monitor closely, and prioritise conditioning. Your results will likely surprise you in the best way. Most people find that subtle lightening makes a meaningful difference in how they feel about their appearance. Give yourself permission to experiment, learn, and refine your technique. After your first successful application, you’ll have the confidence and knowledge to maintain your results indefinitely.
The key to long-term success with bleaching bath hair isn’t complicated: proper volume, appropriate timing, and generous conditioning. Master these three elements, and you’ll achieve professional-looking results from your bathroom.
Add Comment